


Introduction
YouTube is a free video-sharing website that makes watching video clips easy. You may even make your own videos and post them to enjoy with others. YouTube, which was founded in 2005, is currently one of the most popular apps on the Internet, with over 6 billion hours of video watched each month.
React Native is a JavaScript framework for writing real, natively rendering mobile applications for iOS and Android. It’s based on React, Facebook’s JavaScript library for building user interfaces, but instead of targeting the browser, it targets mobile platforms.
Table of Contents
In this part (1) we are going to
- Download and Install Node JS
- Install Expo CLI
- Initialize our app with React Native Expo
- Change Folder Structure
- Create a bottom Tab navigation
Installing Node JS
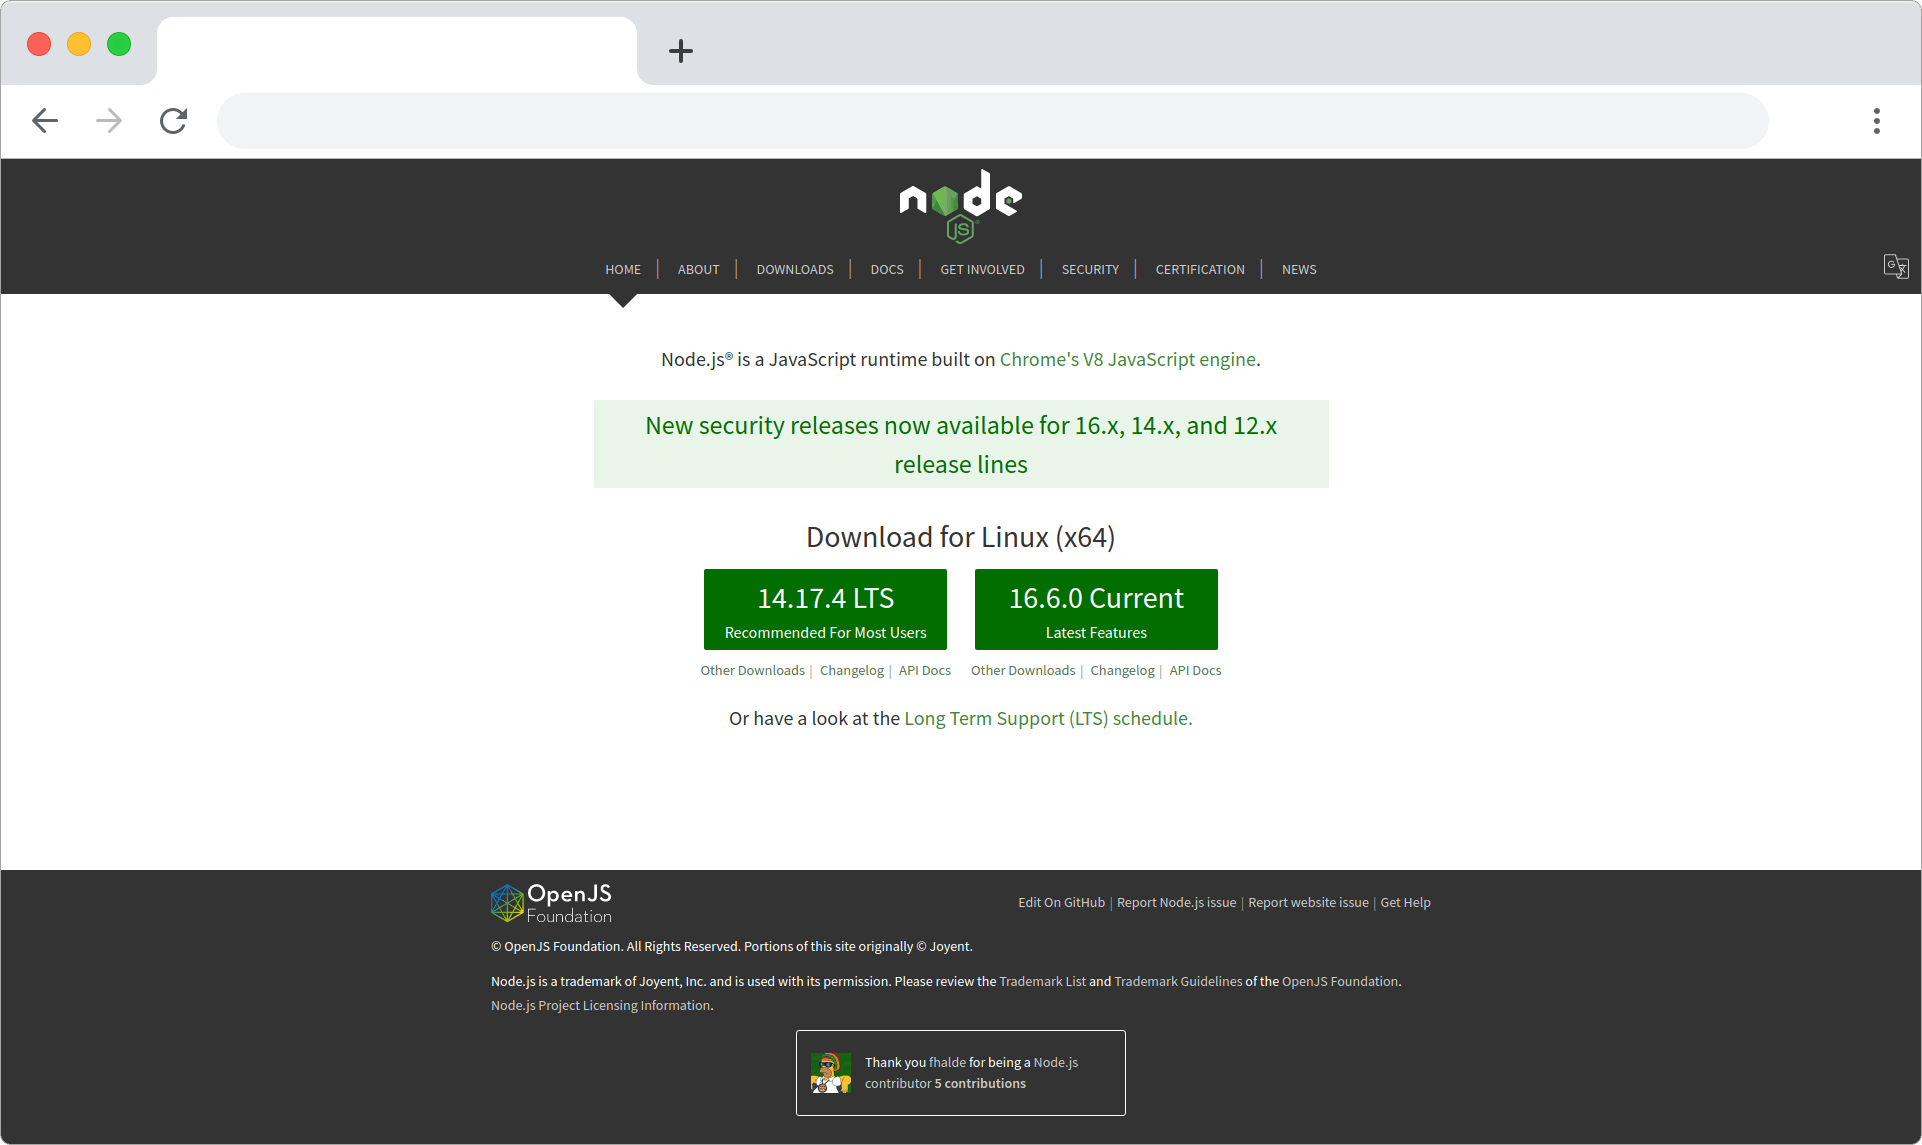
Node.js is a platform built on Chrome's JavaScript runtime for easily building fast and scalable network applications. Node.js uses an event-driven, non-blocking I/O model that makes it lightweight and efficient, perfect for data-intensive real-time applications that run across distributed devices.
Go to nodejs.org and download and install the latest stable version (LTS) on your computer. "nodejs package includes both node and npm"
Installing Expo
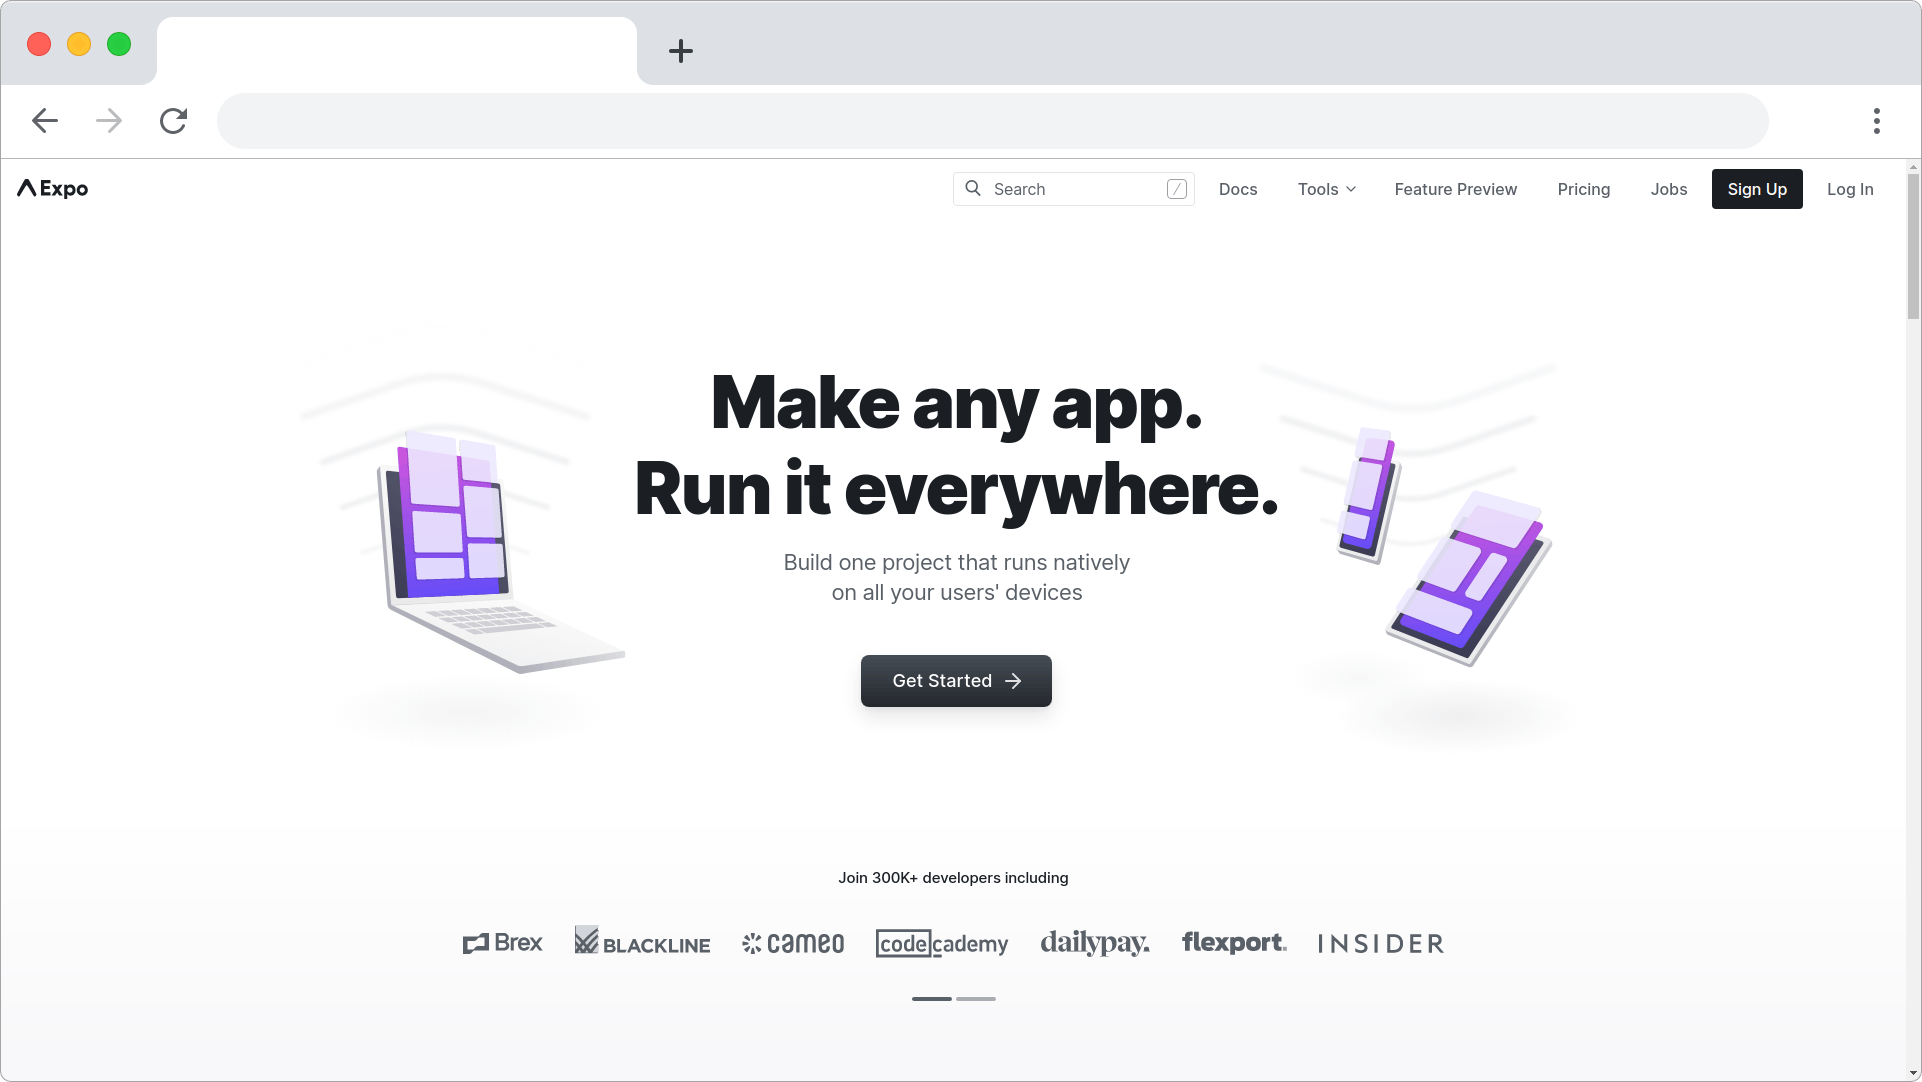
Expo is a framework and a platform for universal React applications. It is a set of tools and services built around React Native and native platforms that help you develop, build, deploy, and quickly iterate on iOS, Android, and web apps from the same JavaScript/TypeScript codebase.
The quickest way to install Expo is using NPM, just open your terminal and write
npm install --global expo-cli
Initializing our app with React Native Expo
Open your terminal and write
expo init
This will generate a simple one-screen app using React Native.
Once your app is created, navigate to your app folder using
cd your-app-name
and run
expo start
When you run expo start (or npm start), Expo CLI starts Metro Bundler, which is an HTTP server that compiles the JavaScript code of our app using Babel and serves it to the Expo app. It also pops up Expo Dev Tools, a graphical interface for Expo CLI.
On your phone, download and install Expo Go app, after installing open it and press "Scan QR Code" on the "Projects" tab of the Expo Go app and scan the QR code you see in the terminal or in Expo Dev Tools.
Changing Folder Structure
Now, Let's change the folder structure of our app. First, you need to create the src folder in your main directory, then create the components folder inside of src, similarly, create the utils and screens folder too. Inside of the assets folder create two new folders, i.e fonts and images. Finally you folder structure should look like this.
├── App.js
├── app.json
├── assets
│   ├── fonts
│   └── images
├── babel.config.js
├── package.json
├── src
│   ├── components
│   ├── screens
│   └── utils
└── yarn.lock
Creating a bottom Tab
Now We need to create a bottom tab just like youtube, but first, you need to install react-native-paper, for that paste the command below in your terminal
npm i react-native-paper
React Native Paper is a collection of customizable and production-ready components for React Native, following Google’s Material Design guidelines.
Once it is done, in your component folder, create a file named bottomTab.js and import it in your app.js. Now paste the below code in your bottomTab.js
import * as React from "react";
import { BottomNavigation, Text } from "react-native-paper";

const SampleScreen = () => <Text></Text>;

const MyComponent = () => {
  const [index, setIndex] = React.useState(0);
  const [routes] = React.useState([
    { key: "home", color: "#fff", title: "Home", icon: "home" },
    { key: "trending", color: "#fff", title: "Trending", icon: "fire" },
    { key: "subscriptions", color: "#fff", title: "Subscriptions", icon: "video",},
    { key: "inbox", color: "#fff", title: "Inbox", icon: "email" },
    { key: "library", color: "#fff", title: "Library", icon: "folder" },
  ]);

  const renderScene = BottomNavigation.SceneMap({
    home: SampleScreen,
    trending: SampleScreen,
    subscriptions: SampleScreen,
    inbox: SampleScreen,
    library: SampleScreen,
  });

  return (
    <BottomNavigation
      navigationState={{ index, routes }}
      onIndexChange={setIndex}
      renderScene={renderScene}
      activeColor="#FF0000"
      inactiveColor="#616161"
    />
  );
};

export default MyComponent;
and this is how your app.js should look
import { StatusBar } from "expo-status-bar";
import React from "react";
import { StyleSheet, Text, View } from "react-native";
import BottomTab from "./src/components/bottomTab";
export default function App() {
  return <BottomTab />;
}

const styles = StyleSheet.create({
  container: {
    flex: 1,
    backgroundColor: "#fff",
    alignItems: "center",
    justifyContent: "center",
  },
});
Now when you save your code you should see the output similar to a GIF below
Conclusion
This is it for this part. I hope you found this article helpful. If you need any help please let me know in the comment section
Let's connect on Twitter and LinkedIn
👋 Thanks for reading, See you next time