


An Ultimate Guide to Git and Github
A must-read article for all developers


As a developer, we all know a little about Git and GitHub but there are some developers who still have doubt and question about Git and GitHub. Therefore in this article, I am going to break everything down regarding Git and GitHub, so that you can understand it clearly.
Introduction
Git is a source code management technology used by DevOps. It is a free and open-source version control system that is used to efficiently manage small to extremely big projects.
Git is a version control system. Version control is a file manager that maintains track of changes to your projects over time and keeps a complete history of whatever you're working on. It allows many developers around the globe to work together on the same project at the same time
GitHub is a site that hosts Git repositories, but it also has a lot of its own features. It is a web-based graphical interface for Git, which is a command-line application. Each project has access control and numerous collaborative capabilities, such as wikis and rudimentary task management tools.
It is the home of 56 million ( September 2020 ) developers around the globe which is currently owned by Microsoft
Installation
Every operating system has its own steps to install Git, In this article, I will cover Linux, Windows, and Mac ( Which are the most popular ones )
Linux
If you are a Linux user ( like me ), you will probably know that the Linux family is very big and It has many distros such as Ubuntu, Fedora, Arch and etc. However, in this article, I will cover Debian ( Ubuntu ) and Fedora
Debian / Ubuntu (apt-get)
- From your shell, install Git using apt-get:
sudo apt-get install git
- Verify the installation was successful by typing git --version:
git --version
- Configure your Git username and email using the following commands. These details will be associated with any commits that you create.
git config --global user.name "Suhail Kakar"
git config --global user.email "suhail.zahed@gmail.com
Fedora (dnf/yum)
- From your shell, you can install Git using dnf or yum
sudo dnf install git
or
sudo yum install git
- Verify the installation was successful by typing git --version:
git --version
- Configure your Git username and email using the following commands. These details will be associated with any commits that you create.
git config --global user.name "Suhail Kakar"
git config --global user.email "suhail.zahed@gmail.com
Windows
- Download the latest Git for Windows setup
- You should see the Git Setup wizard screen after you've successfully run the installer. Complete the installation by following the Next and Finish prompts. For most people, the default parameters are adequate.
- Open a Command Prompt or Git Bash and run the below command to configure your Git username and email. These details will be associated with any commits that you create.
git config --global user.name "Suhail Kakar"
git config --global user.email "suhail.zahed@gmail.com
Mac
- Download the latest Git for mac installer
- Follow the prompts to install Git.
Or, install Homebrew and run the following to install an up to date version of Git on your Mac:
brew install git
- Open a terminal and verify the installation was successful by typing the below command.
git --version
- Configure your Git username and email using the following commands. These details will be associated with any commits that you create.
git config --global user.name "Suhail Kakar"
git config --global user.email "suhail.zahed@gmail.com
Basic GitHub terms
- Fork: Fork is a copy of another user's repository that lives on your personal Github account. The major reason for this is to adapt other people's repositories to meet your needs.
- Main: When you create a new repository, it comes with a default development branch.
- Readme: It is a text file that contains information about other files in a repository. It is usually a basic plain text file called Read Me that serves as documentation.
- Repository: A Repository is a place where tour work will be stored in a directory or storage space. This is sometimes abbreviated as "repo" by GitHub users.
- License: If you want your repository to be genuinely open source, you'll need to license it so that others can use, modify, and distribute it.
- Pull request: It allows you to announce a change made by you in the branch. It is a way for a developer to let the rest of the team know when they've finished a feature.
Basic Git Command
git init: The git init command creates a new Git repository. Executing this command creates a.gitsubdirectory in the current working directory, which contains all of the necessary Git metadata for the new repository.git clone: The git clone command is used to create a copy of a specific repository or branch within a repository.git branch <branch-name>: This git command is used to create a new branch for a specific repository.git checkout <branch-name>: The git checkout command lets you navigate between the branches created by the git branch.git add: It is the first command in a chain of operations that directs Git to "save" a snapshot of the current project state, into the commit history. It is used to tracks your file and changes in Gitgit commit: The git commit command takes a snapshot of the current state of the project's changes.git push: This command is used to upload git commits to a remote repository like Github
The power of Open Source is the power of the people. The people rule. ~ Philippe Kahn
Demonstration
- To create a new folder, you need to use the below command.
mkdir demo-folder - To navigate to your newly created folder, use the below command.
cd demo-folder - To create a new file, you need to the below command.
touch index.js - Use the below command to see untracked changes in the
index.jsfile.git status - To add
index.js, use the command below.git add index.js - To commit your changes use the below command
git commit -m "added index.js file" - To add your remote origin link, use the command below
git remote add origin main https://github.com/suhailkakar/demo - To push your code to GitHub, you can use the below command
git push -u origin
GitHub special repository
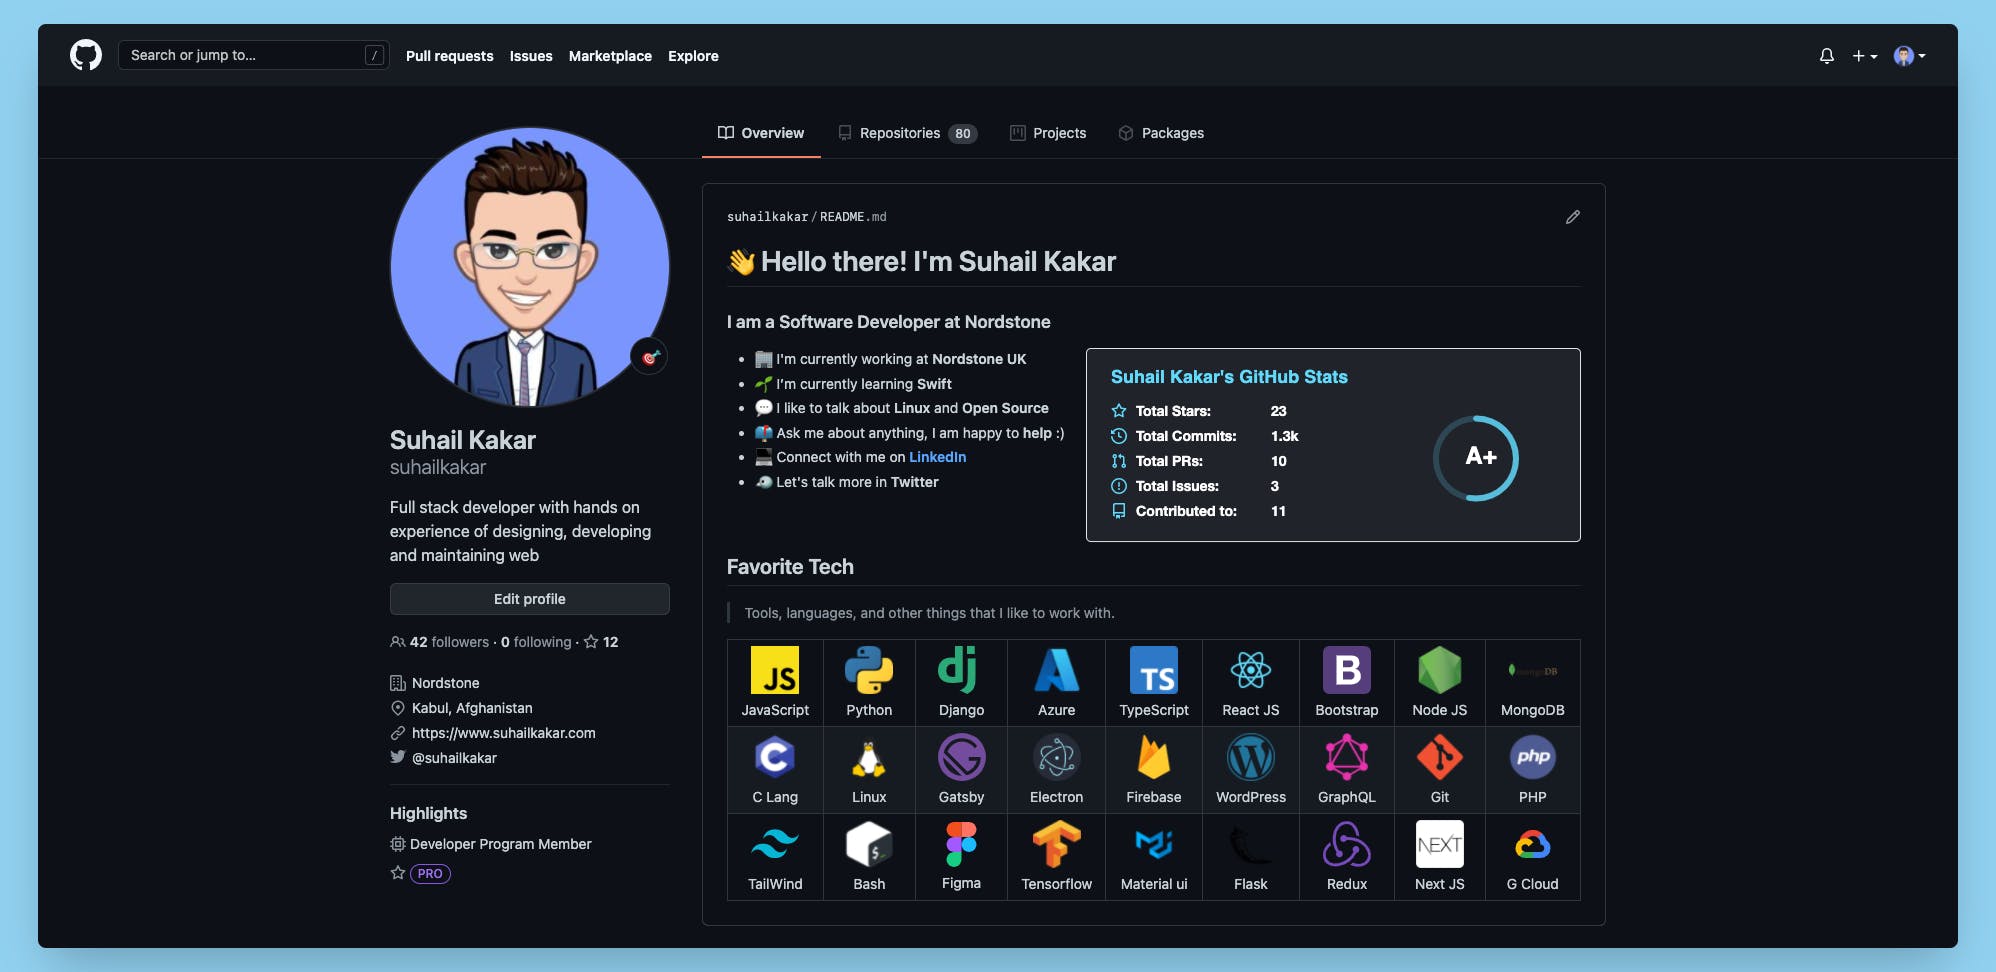
GitHub offers a special repository by your username, which should contain a readme.md and it will show in your GitHub profile, just like mine
If you want a similar look, you can fork my repository here
Conclusion ⌛
I hope you found this article helpful. If you need any help please let me know in the comment section.
Let's connect on Twitter and LinkedIn
👋 Thanks for reading, See you next time